
Setting up the own version control server can have multiple benefits.
It provides more control and security to the repositories hosted on the dedicated server that belongs to the person or the company. This is the reason many companies prefer setting up their own servers for version control systems.
So now let's dive into the steps to set up your own Gitlab Server. 🚀
Prerequisites
- A virtual machine — can be AWS EC2, DigitalOcean droplet, etc. Minimum configuration required: 4GB RAM, 2 core CPU (might not be free).
In this article, we will be using an EC2 instance (Ubuntu server).
Steps
- Log in or create an account in AWS.
- Search for EC2 service.

3. Choose the Ubuntu Server in AMI Section

4. In Instance Type select t2.large (you can also select t2.medium)

5. Skip to the Add Tags and add the tag name with GitLab as the value.

6. In the Security Group, add the rule HTTP, HTTPS, SSH.

7. Now Review and launch the instance. (you need to create a key pair)
8. Open the instance list and copy the public IP address of the instance.


9. Open your Powershell(Windows) or Terminal(Mac/Linux) in the Downloads folder or the folder where your key pair is stored (that we created in step 7) (use cd to change directory to the particular folder)
10. Linux or Mac users should enter an additional command (Windows users can skip this step)
$ chmod 400 <YOUR_KEY_PAIR>11. Now SSH into the instance (type yes when prompted)
$ ssh ubuntu@<PUBLIC_IP_OF_INSTANCE> -i <YOUR_KEY_PAIR>
12. Type the command
$ sudo apt-get update
$ sudo apt-get install -y curl openssh-server ca-certificates tzdata perl
13. Install Postfix
$ sudo apt-get install -y postfixYou will be prompted with a GUI in the terminal with configuration choices. Select No Configuration for now.

14. Add Gitlab package repository and install the package
$ curl https://packages.gitlab.com/install/repositories/gitlab/gitlab-ee/script.deb.sh | sudo bash15. Now we need to specify the URL for the Server where the Version Control System will be hosted.
You can use connect your custom domain with the instance or use the IP address for now.
$ sudo EXTERNAL_URL="<YOUR_DOMAIN or IP_ADDRESS>" apt-get install gitlab-ee16. The server is set up now.

17. Get your default login password
$ nano /etc/gitlab/initial_root_passwordCopy the password from the file.
18. Open your URL(custom domain or IP address) in Browser.

18. Type root in username and the default password (from step 17)in the password.

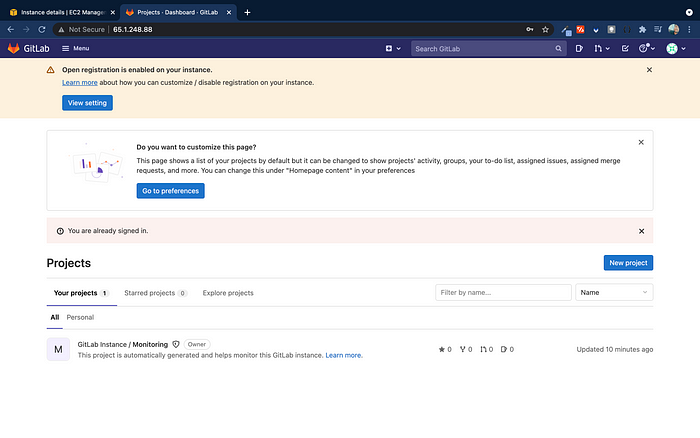
Your own server is now ready 🎉
Now you can do all the operations the same as any version control system (Github, Gitlab, Bitbucket, etc).
Other than AWS EC2, you can use Linode or DigitalOcean.
Connect with me on Instagram and Twitter for more such content.
Hope to see you again. 👋🏻
